Inicio del blog
INNOVATION
SEP 07, 2021
The Making of an NFT

The Gemini Research & Development team recently redesigned Gemini’s security onboarding process from the ground up. As part of that redesign, Gemini now mints a unique non-fungible token (NFT) for every new employee.
The designers we worked with, Lucas Hearl and Frank J. Guzzone, provided 1) design parameters for how to randomly generate a 2D image, and 2) a 3D render of a badge to embed in the onboarding page. While originally the plan was to provide the 2D badge image as the NFT, I thought it would be cooler to dynamically generate a GIF/WEBM of the 3D badge and put the 2D badge image on it.
This post will walk you through how I used three.js to do just that! The code we'll write here isn't exactly the same as the code used in production because I'll be using CodePen to run the examples, but the process is the same.
Preface: Slightly Above Beginner
While I will be explaining my entire thought process, I won't be going into detail about every feature of three.js that I'm using. If you've never used three.js before, their documentation is comprehensive and they have a great tutorial series to get you started.
Step 0: Show Me What You're Workin' With
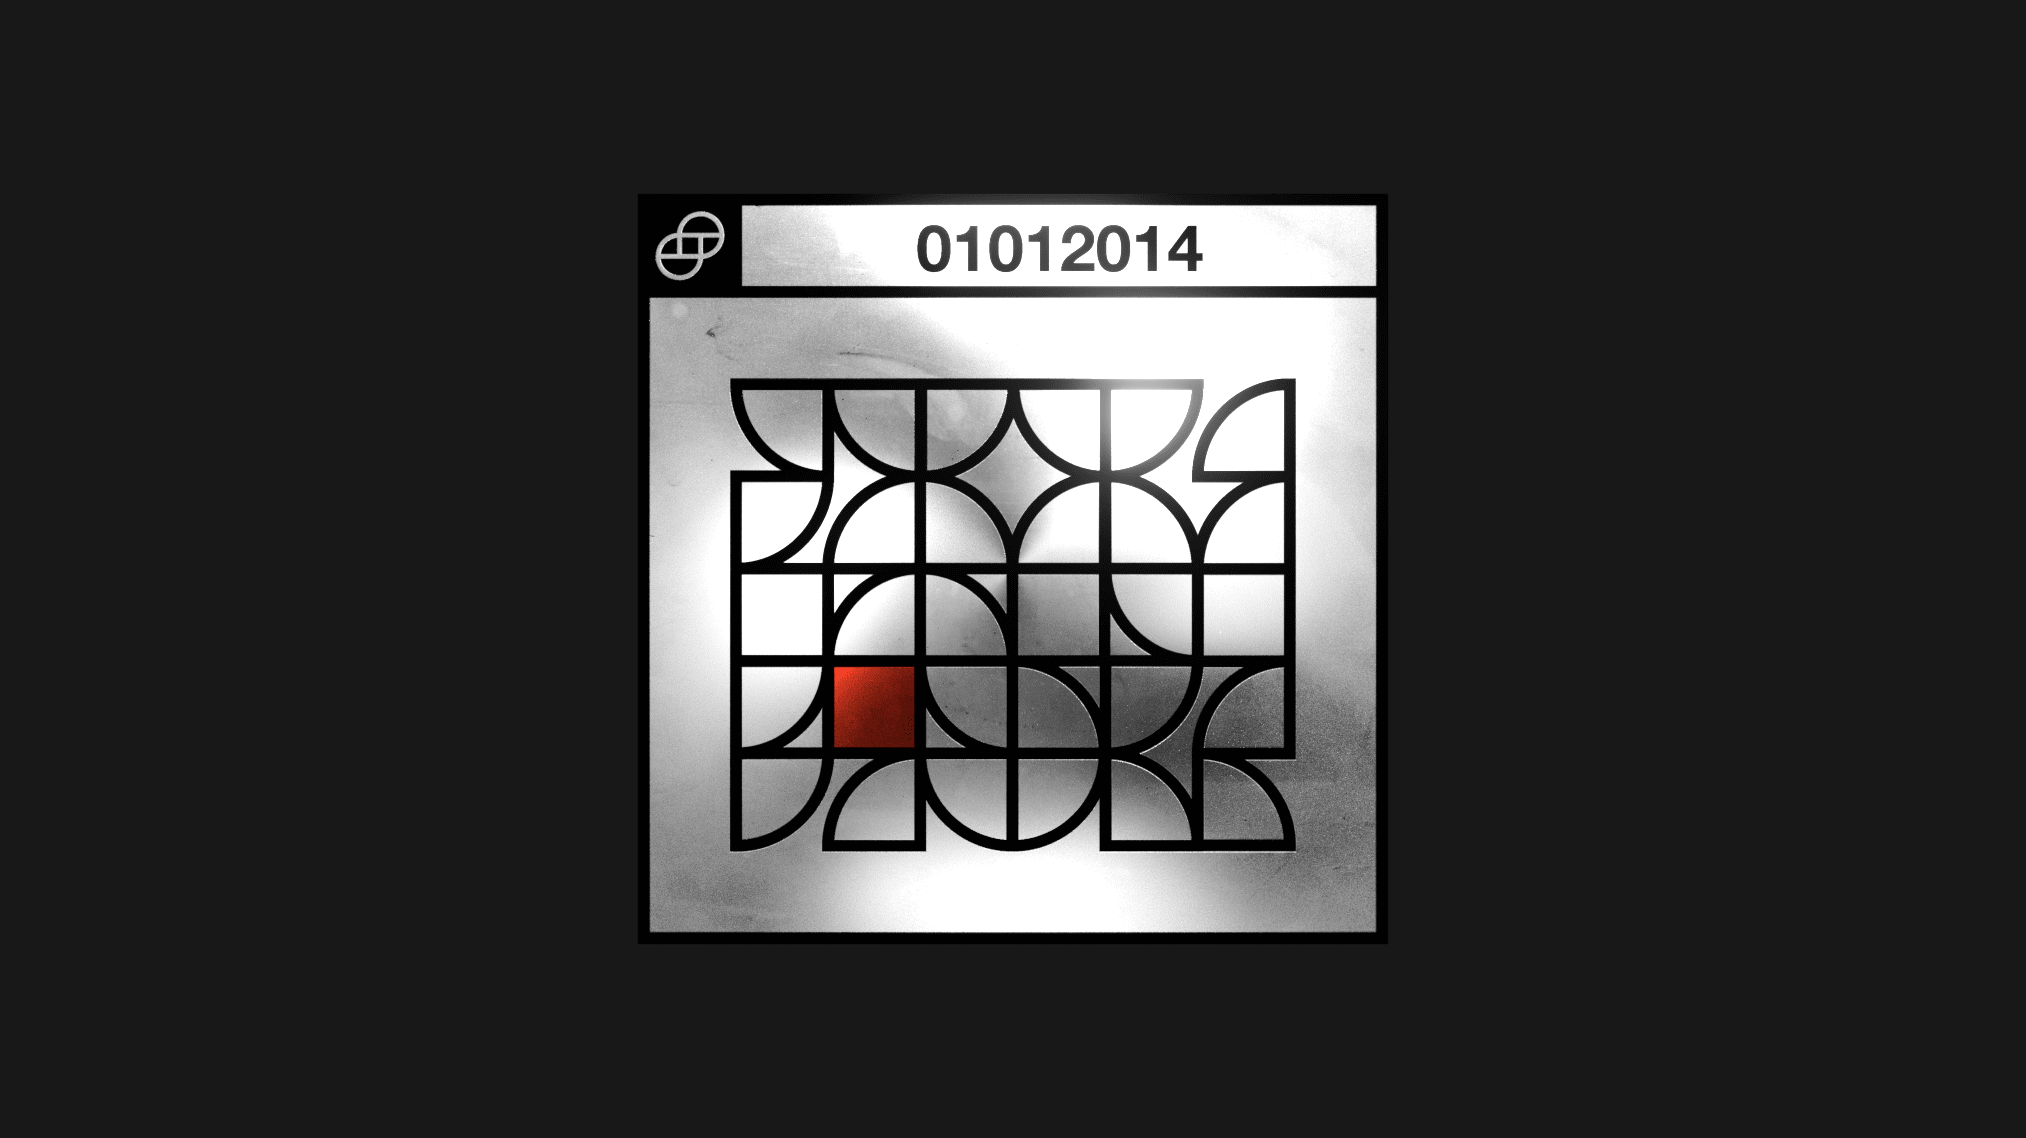
We're going to take this static prerender of a badge provided to us by the designers,
recreate the badge in three.js,
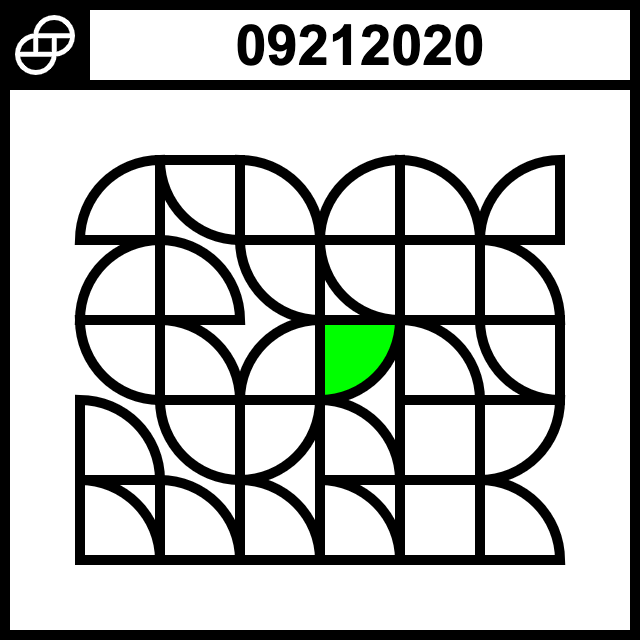
and put this image on it,

to make our final product:
Step 1: We Need a Box
The first thing we need is a project structure to work in and a basic badge to manipulate. I started with the structure of the three.js tutorial I linked to earlier and changed the z-dimension of the box to make it more badgelike.
let geometry = new THREE.BoxGeometry(10, 10, 1);
I then added an AmbientLight and switched the MeshBasicMaterial (which doesn't interact with three.js lighting) to a MeshStandardMaterial (which does):
let light = new THREE.AmbientLight(0x414141, 10);

let material = new THREE.MeshStandardMaterial();
I also chose a PerspectiveCamera for the dynamic badge instead of the OrthographicCamera that the designers used.
Step 2: Make the Box Shiny
Now that we have the beginnings of a badge, we need to make it look metallic instead of a boring flat white. We can do this by adding some parameters to the MeshStandardMaterial we're using for the box. While we're here, let's also tweak the depth of the box.
let metal = new THREE.MeshStandardMaterial({
  color: 0xffffff,
  roughness: 0.2,
  metalness: 1
});
let geometry = new THREE.BoxGeometry(10, 10, 0.1);
let badge = new THREE.Mesh(geometry, metal);
We won't be able to see how reflective it is unless we add some point lights, so let's add placeholders for the softboxes from the render.
let pointLight1 =
    new THREE.PointLight(0xffffff, 1, 100);
pointLight1.position.set(5,5,10);
let pointLight2 =
    new THREE.PointLight(0xffffff, 1, 100);
pointLight2.position.set(-5,-5,10);
let pointLight3 =
    new THREE.PointLight(0xffffff, 1, 100);
pointLight3.position.set(5,-5,10);
let pointLight4 =
    new THREE.PointLight(0xffffff, 1, 100);
pointLight4.position.set(-5,5,10);

...

scene.add(pointLight1);
scene.add(pointLight2);
scene.add(pointLight3);
scene.add(pointLight4);
That's getting closer, but the render has a different kind of metal on the front than the sides, which we can approximate with some changes to our material parameters.
let metal = new THREE.MeshStandardMaterial({
  color: 0xffffff,
  roughness: 0.2,
  metalness: 1
});
let roughMetal = new THREE.MeshStandardMaterial({
  color: 0xc0c0c0,
  roughness: 0.3,
  metalness: 0.99
});
let geometry = new THREE.BoxGeometry(10, 10, 0.1);
let badge = new THREE.Mesh(geometry,
    [metal, metal, metal, metal, roughMetal, metal]);
Step 3: What's on the Box?
Now we just have to put the randomly generated unique badge image on the front of the badge! For the purposes of this article we aren't going to generate the image on the fly, but in production the front of the badge is unique to each employee.
First, we need to load the image using a TextureLoader and put it into a MeshPhongMaterial:
let loader = new THREE.TextureLoader();
let badgeFront =
    loader.load('https://i.imgur.com/Dq3ypnq.png');
let badgeFrontMaterial =
    new THREE.MeshPhongMaterial({
  color: 0xffffff,
  specular: 0x111111,
  shininess: 200,
  map: badgeFront,
  transparent: true
});
Putting it on the face of the badge in place of the rough metal means that only the badge material we just made out of the image will reflect the light.
To get this to work the way we want, we're going to have to do something tricky. First, we're going to make a separate Mesh with the same BoxGeometry. Then we put the badge image on the same face as the rough metal (with no textures for the other surfaces), put it in the same location as the badge, and spin it at the same rate.
let badge = new THREE.Mesh(geometry,
    [roughMetal, metal, metal, metal, metal, metal]);
let nifty = new THREE.Mesh(geometry,
    [badgeFrontMaterial]);

let badgeGroup = new THREE.Group();
badgeGroup.add(badge);
badgeGroup.add(nifty);

...

scene.add(badgeGroup);

...

badgeGroup.rotation.y += 0.015;
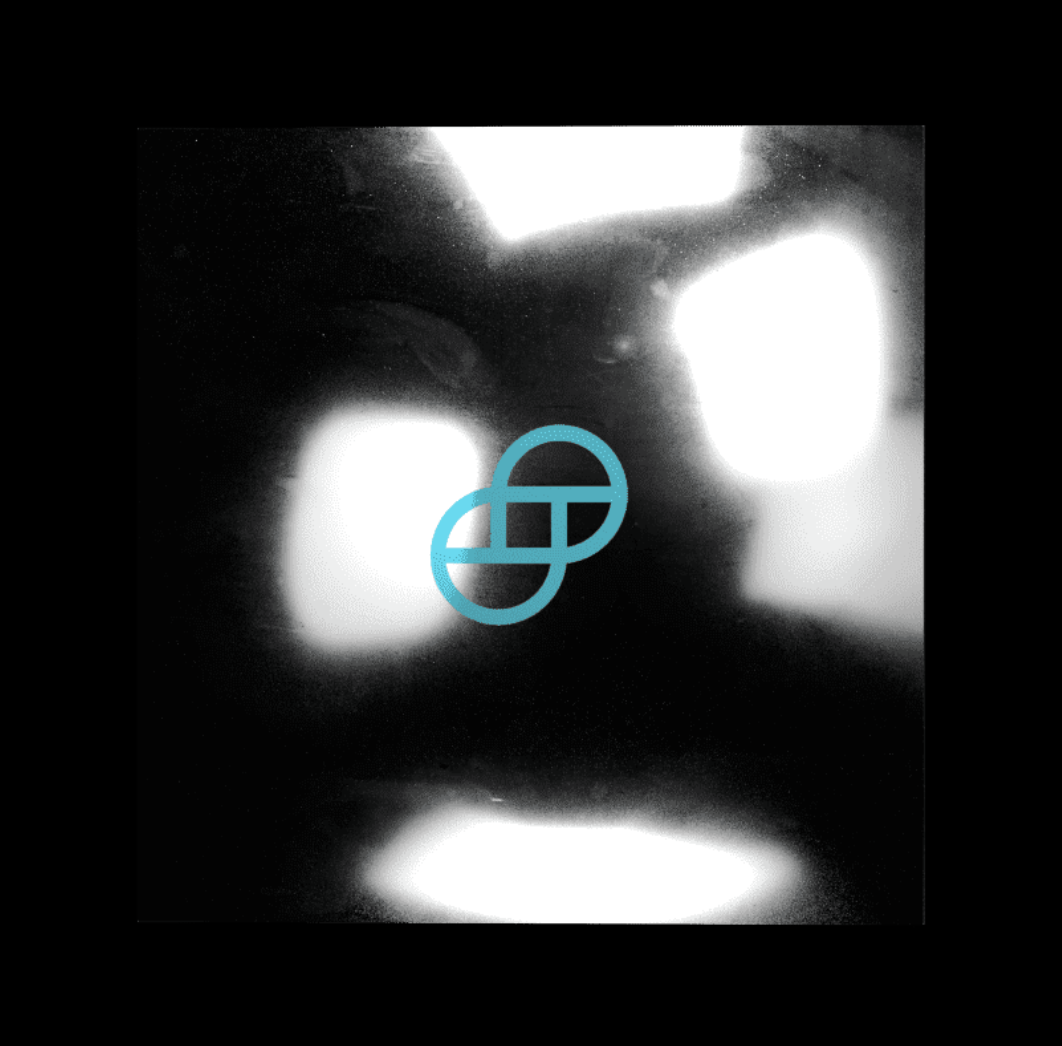
Now we do the same thing with the Gemini logo and put it on the back of our transparent badge.
let badgeBack =
    loader.load('https://i.imgur.com/8McfMzg.png');
let badgeBackMaterial =
    new THREE.MeshPhongMaterial({
	color: 0xffffff,
  specular: 0x111111,
  shininess: 200,
  map: badgeBack,
  transparent: true
});

...

let nifty = new THREE.Mesh(geometry,
    [badgeFrontMaterial, badgeBackMaterial]);
When you pass an array of materials to a Mesh created with a BoxGeometry, three.js assigns those materials to the faces of the box in a specific order. The current orientation of the badge, camera, and lights means that if we pass the badgeFrontMaterial as the first array element, three.js will place the "front" of the badge on the current bottom of the badge.
There are a couple of ways to deal with this, but I chose to change the dimensions of the badge (which changes which side is the "front") and move the camera and lights around to face the new badge front. The net effect is that nothing changes visually, but it's easier for us to work with.
Step 4: Softboxes or: How I Learned to Stop Worrying and Love RectAreaLightHelper
To get the softbox effect, we're going to replace our PointLights with RectAreaLights. While it might be possible for someone to picture in their head where the softboxes are relative to the badge and how they're being angled, I'm not that person.
Thankfully three.js provides a RectAreaLightHelper that shows where the light is positioned and what direction it's facing. I added one helper per light, added OrbitControls to the scene, and commented out the rotation in animate() so I could navigate around the scene to see precisely where I was putting the lights and how they were angled.
To replicate the softboxes we take a still image of the back of the badge from the static render.

Then we go softbox by softbox: pick a softbox from the still image, put a RectAreaLight in with its RectAreaLightHelper, and move it around and change its color and brightness until it looks right.
This part is easier if you recognize that the designers are trying to make a virtual replica of a photography softbox setup and you [do some research about what softbox setups look like](https://www.google.com/search?tbm=isch&q=softbox%20setup&tbs=imgo:1 "Google Image search for "softbox setup""). Getting these in the right place and at the right brightness is really fiddly so I'll just show the OrbitControls and RectAreaLightHelpers enabled (click and drag your mouse to move around, scroll in and out to zoom).
The final product!
And, there we've done it! We took a static prerendered spinning badge and turned it into a dynamically generated three.js scene that puts the employee's unique NFT badge image on the face.
Onward and Upward!
Baron Oldenburg
Principal Security Research Engineer
Decentralization and transparency are central to crypto's ethos. At Gemini, we want to contribute to greater understanding and knowledge around fast-paced technical developments in crypto and help further drive innovation in our industry. We are proud to publish technical content developed by our engineers as we build the future of crypto.
ARTÍCULOS RELACIONADOS

WEEKLY MARKET UPDATE
FEB 27, 2025
Bybit Hack Shakes Crypto Market, Ethereum Prepares for Pectra Update, and SEC Eases Up On Crypto

COMPANY
FEB 26, 2025
Unpacking the Debate Over a Strategic Bitcoin Reserve

INSTITUTIONAL
FEB 26, 2025